Freezing greens is an excellent way to preserve their nutritional value and prevent waste. Whether you have an abundance of kale, spinach, Swiss chard, or other leafy greens from your garden or farmer’s market, learning how to freeze them properly ensures you have delicious, healthy options available year-round. Here’s a comprehensive guide on how to freeze greens effectively, primarily using small bags for easy storage and convenience.
Why Freeze Greens?
Freezing is an ideal method for long-term storage as it not only maintains the greens’ nutrients better than canning but also allows for easy incorporation into various dishes like smoothies, soups, and stir-fries. With proper techniques, greens can last in the freezer for six months or even up to a year.
Step-by-Step Guide to Freezing Greens
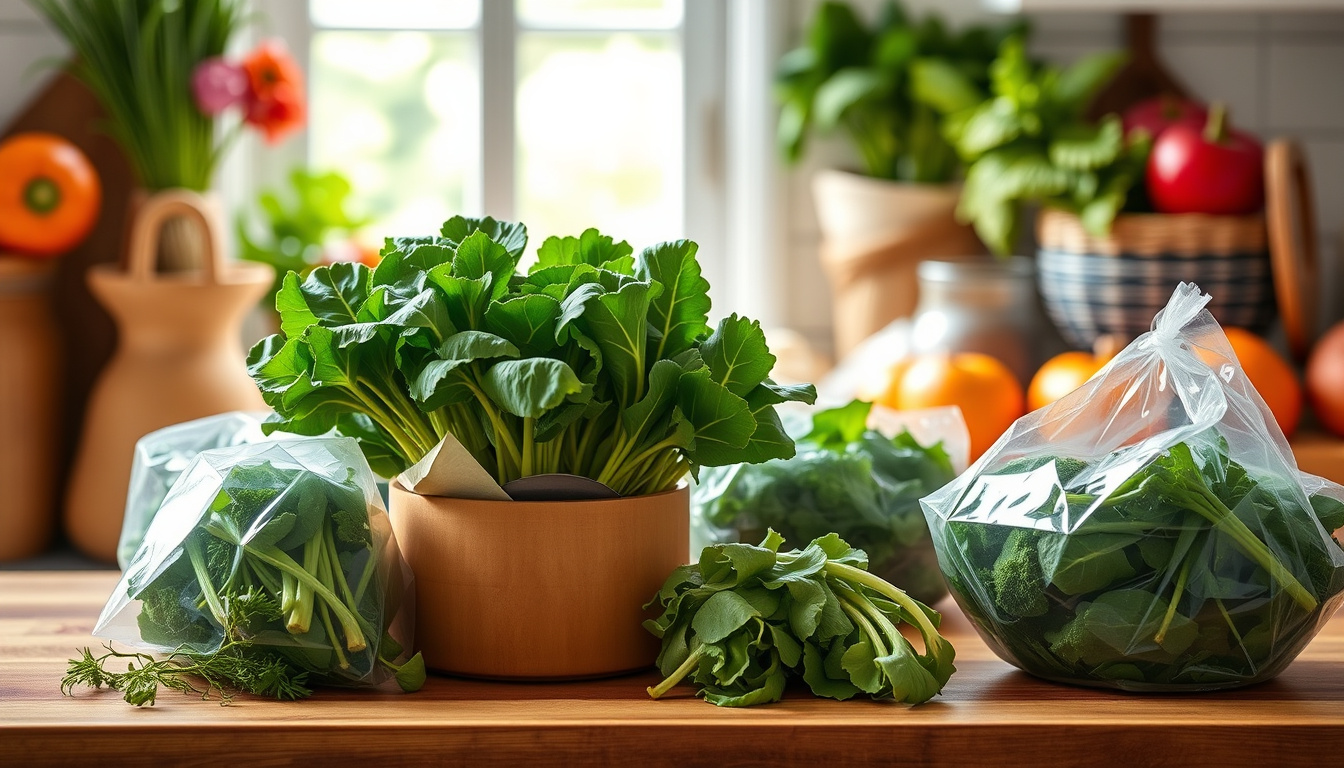
1. Select Fresh Greens
Use greens that are fresh and in good condition. Avoid wilting or yellowing leaves, as they won’t freeze as well.
2. Wash Thoroughly
Rinse your greens under cold water to eliminate any dirt or insects. Consider soaking them in a bowl of water if they are particularly gritty.
3. Remove Tough Stems
For tougher greens like kale and Swiss chard, remove the thick stems. Tender greens like baby spinach can be kept whole.
4. Chop and Prepare
Depending on how you plan to use the greens after thawing, chop them into desired sizes. Smaller pieces may require less blanching time.
5. Blanch the Greens
Why Blanch? Blanching halts enzyme actions that can cause loss of flavor, color, and nutrients. It also helps in maintaining a vibrant green color.
• Boil a large pot of water.
• Submerge the greens for 30 seconds to 3 minutes depending on their toughness (e.g., spinach for 30 seconds; kale for up to 3 minutes).
• Quickly transfer the greens to an ice bath (cold water mixed with ice) to stop the cooking process.
6. Drain and Squeeze
After cooling, drain the greens in a colander. Gently squeeze out excess water to prevent ice crystals from forming during freezing.
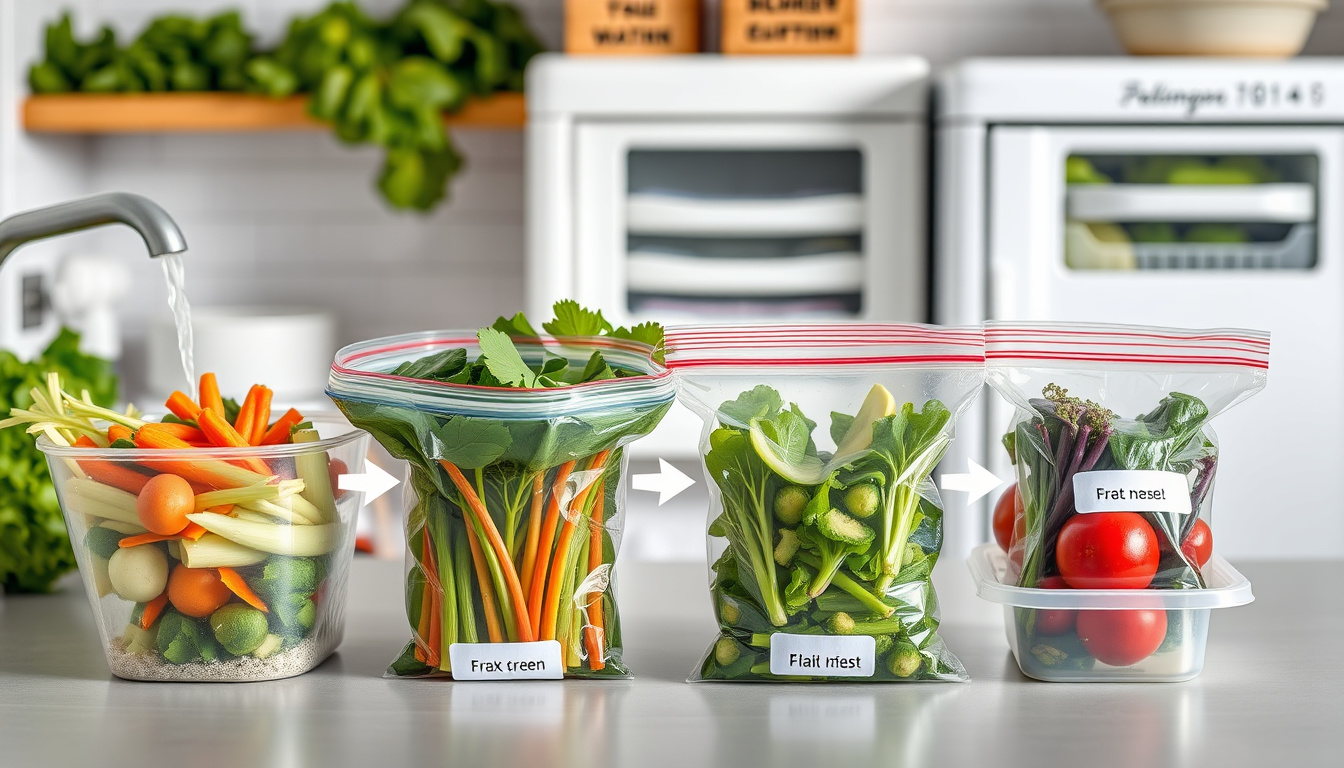
7. Pack into Bags
Transfer the prepared greens into small, labeled ziplock bags. Squeeze out as much air as possible to prevent freezer burn. Tip: You might use a straw to suck out the air before sealing tightly.
8. Freeze Them
Lay the bags flat in the freezer for optimal storage. This method allows for easier access and quicker thawing later.
9. Utilize Proper Storage Techniques
Greens do well in a consistently cold freezer without thaw cycles. Check that your freezer is set to 0°F (-18°C) or below for the best preservation.
Raw vs. Blanched Greens: Which Method to Choose?
While blanching is the recommended method for most greens, you can freeze raw greens if you’re in a hurry. However, raw greens can have a stronger flavor, particularly in smoothies. Here are two methods:
• Freezing Raw: Simply wash, dry, and chop your greens, then pack them into bags. This method is quicker but may not minimize oxalic acid in high-oxalate greens like spinach.
• Freezing Cooked: For greens high in oxalic acid, boil them for about five minutes before freezing to reduce this compound. This method is great for easy incorporation into soups.
Creative Ways to Use Frozen Greens
Once you have your frozen greens ready, consider adding them to:
• Smoothies: Blend frozen greens into smoothies for a nutritional boost without the strong "green" flavor.
• Soups and Stews: Toss in frozen greens directly into your favorite soup recipes for added nutrition.
• Egg Dishes: Incorporate them into frittatas or quiches for a wholesome meal.
• Stir-Fries: Add frozen greens to stir-fries or sauté with garlic and olive oil for a quick side dish.
By following these steps, you can master the art of freezing greens, ensuring you make the most of your bountiful harvests while enjoying fresh greens throughout the year. So, stock up your freezer and enjoy the flavors of summer even in the cold months!
>> Chest Freezer Reviews <<
>> Upright Freezer Reviews <<