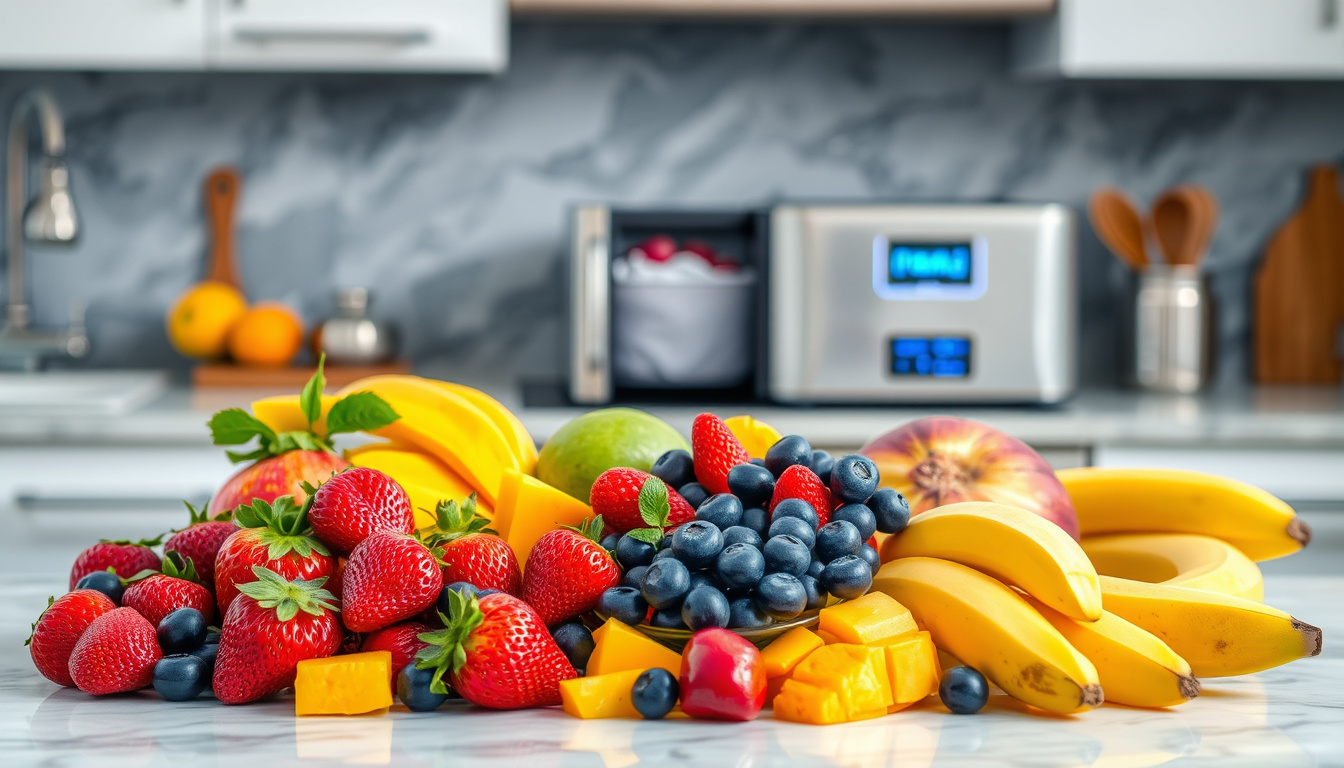
In today’s world of fast-paced lifestyles and fluctuating food prices, mastering the art of flash freezing fruits can transform how you enjoy seasonal delights year-round. Flash freezing is not just a method to save food; it preserves the taste and nutritional value of fruits effectively, ensuring you have access to their invigorating flavors whenever you desire. Here’s everything you need to know about flash freezing fruits—from understanding the process to practical steps for optimal results.
What is Flash Freezing?
Flash freezing is a rapid freezing method designed to minimize the formation of large ice crystals. By freezing fruits quickly, the cellular structure remains intact, which helps retain flavor, texture, and nutritional value. Unlike traditional freezing techniques, where slow freezing can lead to mushy and less appetizing products, flash freezing allows you to enjoy fruits that taste like they were just picked from the vine.
Why Flash Freeze?
- Extended Shelf Life: Properly flash-frozen fruits can last in the freezer for up to six months without significant loss of quality.
- Convenient Portions: Flash freezing allows for portion control. You can take out exactly what you need without having to thaw an entire batch.
- Cost-Effective: Buying fruits in bulk when they are in season can save money. Flash freezing prevents waste and allows you to enjoy off-season fruits.
- Nutritional Benefits: Freezing preserves vitamins and minerals, making frozen fruits a nutritious option similar to their fresh counterparts.
Best Fruits to Flash Freeze

While many types of fruits can be flash frozen, some stand out for their suitability and functionality:
- Berries: Strawberries, blueberries, raspberries, and blackberries freeze beautifully and maintain their texture when thawed.
- Peaches and Mangoes: These fruits should be sliced and placed in a single layer to avoid clumping.
- Bananas: Peel and slice before freezing to be use in smoothies or baking.
How to Flash Freeze Fruits: Step-by-Step Guide
Step 1: Prepare the Fruit
- Clean: Rinse your fruit under cool water to remove any dirt or pesticides.
- Dry: Pat dry with paper towels to remove excess moisture, as wet fruit can develop ice crystals when frozen.
Step 2: Cut (If Necessary)
- Slice larger fruits such as peaches and mangoes into manageable pieces. For berries, leave them whole.
Step 3: Arrange for Freezing
- Line a baking sheet with parchment or wax paper.
- Spread the fruit in a single layer, ensuring that pieces do not touch each other. This allows air to circulate and ensures that they freeze individually.
Step 4: Freeze
- Place the baking sheet in the freezer for 2-3 hours, or until the fruit is completely frozen.
Step 5: Package
- Once frozen, transfer the fruit into airtight freezer bags or containers. Remove as much air as possible to prevent freezer burn. Label with the date and type of fruit before placing them back in the freezer.
Step 6: Thaw and Use
- When you’re ready to use your frozen fruit, thaw it in the refrigerator or directly in recipes (for smoothies, baking, etc.). Avoid thawing fruit at room temperature to maintain safety and quality.
Storage Tips
- Temperature: Keep your freezer at a consistent temperature of 0°F (-18°C) or lower.
- Use Quickly: For optimal taste and quality, consume your frozen fruits within six months. Berries can generally last longer if stored carefully.
Conclusion
Flash freezing fruits is a straightforward and practical skill that yields numerous benefits, from saving money to enjoying seasonal flavors. Whether you’re stocking your freezer for smoothies, baking, or healthy snacks, mastering this technique will ensure you always have access to delicious fruits. So, gather your seasonal produce and start flash freezing—your taste buds will thank you, and so will your wallet!
>> Chest Freezer Reviews <<
>> Upright Freezer Reviews <<

