
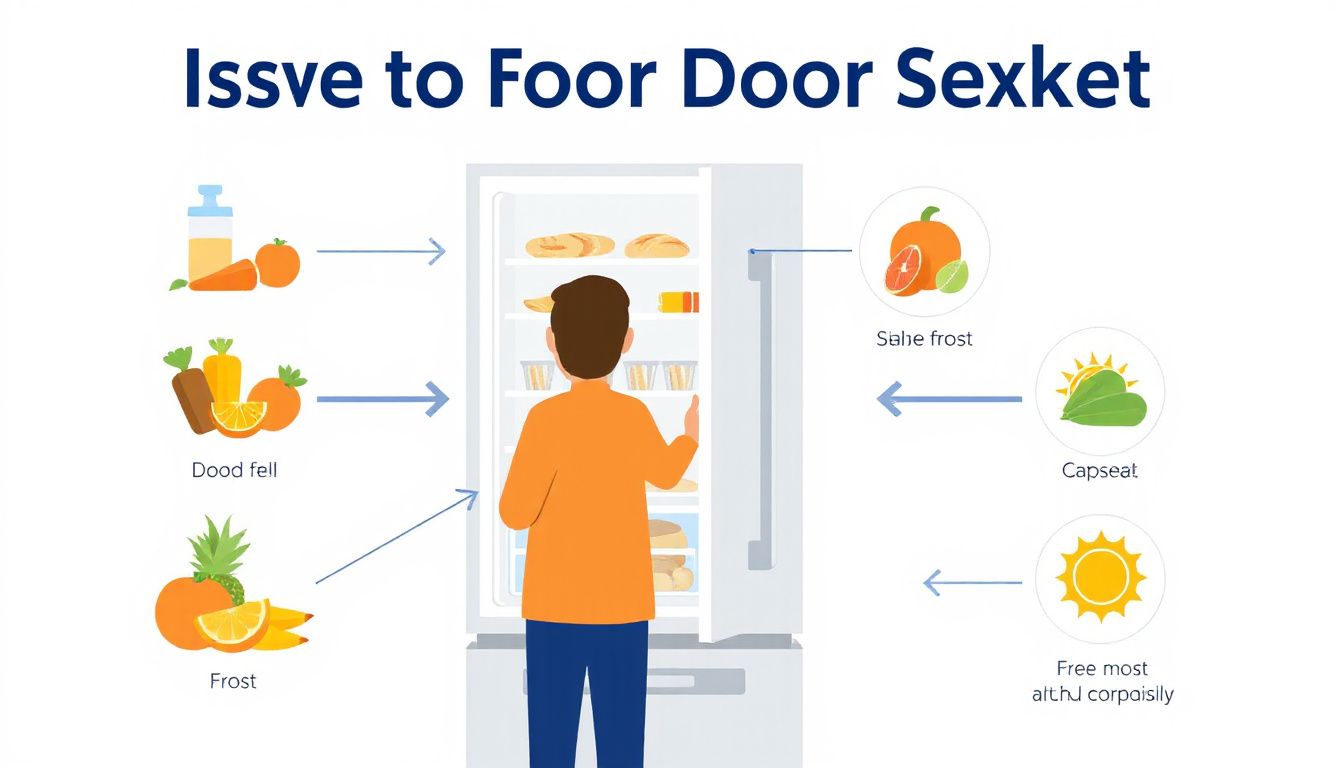
A well-sealed door gasket is crucial for maintaining efficient insulation, whether it’s on your freezer, refrigerator, or any appliance designed to keep cold air in. Frost forming on or near your door gasket is often a clear sign that the seal isn’t tight, allowing warm air to seep in and moisture to accumulate. This can lead to higher energy bills, uneven temperatures, and potential damage to your stored items. Here’s an easy guide to checking for frost on your door gasket and taking steps to maintain an effective seal.
Why Frost on the Door Gasket Happens
Frost appears when moist, warm air penetrates the seal between the door and the cabinet. This moisture rapidly condenses and freezes, leading to frost buildup around the gasket area. The primary causes include:
- Gasket Damage or Wear: Over time, gaskets can harden, warp, tear, or become misaligned, preventing a snug seal.
- Obstructions: Items blocking the door from closing fully.
- Appliance Not Level: Poor leveling can cause the door to misalign and fail to seal properly.
- Dirt and Debris: Grime on the gasket surface reduces adhesion against the door frame.
Steps to Check for Frost and Seal Integrity on Your Door Gasket
-
Visually Inspect the Gasket and Frost Presence
Look closely at the gasket edges where the door meets the appliance. Frost buildup or visible moisture is a red flag. Also check the gasket material for cracks, flattening, or damage. -
Make Sure Nothing Is Blocking the Door
Remove or rearrange stored items that might be preventing the door from closing fully. Tall containers or improperly slid drawers often cause the door to remain slightly open. -
Perform the Paper Test
A simple and effective way to test your gasket’s seal is to use a thin piece of paper or dollar bill:- Close the door on the paper.
- Try to gently pull the paper out.
- Repeat this at multiple spots around the door frame.
If the paper slides out too easily in some areas, these spots might have a compromised seal that is allowing frost-forming moisture to enter.
-
Clean the Gasket Thoroughly
Use warm water and mild soap to clean the gasket, wiping away dust, grease, and food spills. A clean gasket adheres better and makes a tighter seal. -
Check Appliance Leveling
Use a level tool to verify the appliance sits evenly. Adjust the leveling legs to ensure the door closes naturally and firmly; in many cases, a slight backward tilt helps the door shut tighter.
When to Replace the Gasket
If after cleaning, adjusting, and testing you still find frost or weak sealing, it’s time to consider replacing the gasket. Gaskets deteriorate over years of use, losing flexibility and shape. Look for:
- Tears, cracks, or missing pieces in the gasket.
- Significant warping or hardening.
- Persistent frost or temperature inconsistencies despite adjustments.
Make sure to purchase the correct gasket specific to your appliance model for a proper fit.
Why a Tight Door Gasket Matters
A frost-free, properly sealing door gasket:
- Keeps stored items at safe, consistent temperatures.
- Saves energy by reducing cooling loss and compressor strain.
- Prevents moisture buildup that can lead to mold or operational issues.
- Extends the lifespan of your appliance by reducing wear.
By regularly inspecting your door gasket for frost and seal integrity, you help maintain home comfort and energy efficiency all year round.
Summary
Checking for frost on your door gasket is a straightforward way to diagnose seal problems that can compromise appliance performance and energy efficiency. Regular inspection, cleaning, proper leveling, and timely gasket replacement ensure your freezer or refrigerator functions optimally, protecting your food and your energy costs. If you detect persistent frost or signs of seal failure, addressing the issue promptly can save you money and hassle in the long run.
>> Chest Freezer Reviews <<
>> Upright Freezer Reviews <<