Drip pans may seem like small components in your kitchen, but they play a crucial role in maintaining your stove’s cleanliness and efficiency. Over time, drip pans collect grease, spills, and burnt-on food that can lead to unpleasant odors, smoke, and even attract pests. Keeping your drip pans clean is not only essential for hygiene but also helps prolong the lifespan of your stove and ensures a safer cooking environment. This guide offers you practical, easy-to-follow tips and methods to keep your drip pans sparkling clean, whether you have an electric or gas stove.
Why Clean Your Drip Pans?
Dirty drip pans affect more than just the appearance of your stovetop:
- Performance: Excess buildup can interfere with burner performance.
- Odors & Smoke: Grease and food residue can produce unpleasant smells and smoke during cooking.
- Pest Prevention: Food particles can attract insects and rodents.
- Kitchen Hygiene: A clean cooking area helps maintain overall cleanliness and food safety.
Regular maintenance lets you avoid tough, baked-on messes and keeps your kitchen inviting.
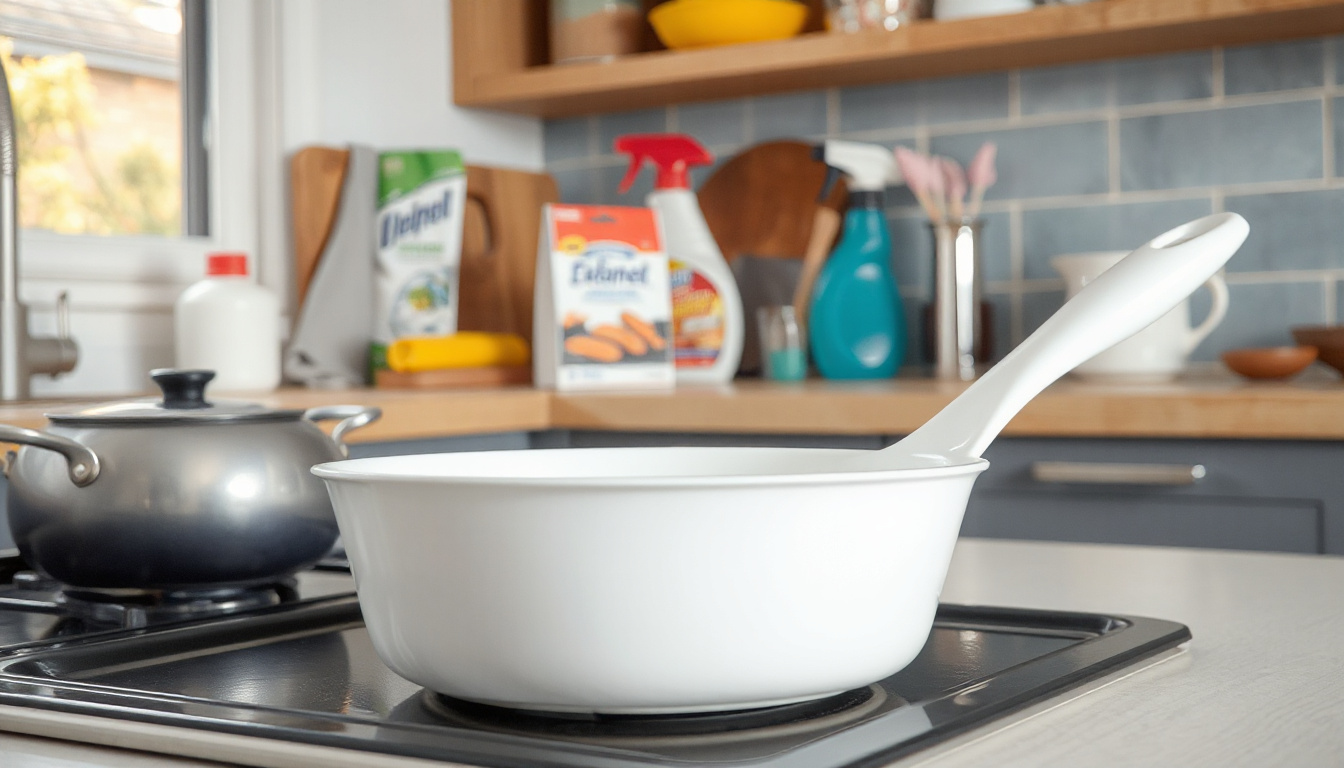
What You’ll Need to Clean Drip Pans
Before you start, gather these common household supplies:
- Dish soap (liquid detergent)
- Baking soda
- White vinegar
- Non-abrasive scrubbing pads or sponges
- A soft cloth or paper towels
- A large bowl, bucket, or sink for soaking
- (Optional) Ammonia for deep cleaning
- (Optional) Aluminum foil ball for tougher scrubbing
Step-by-Step Cleaning Guide
1. Cool and Remove the Drip Pans
Ensure your stove is turned off and the drip pans are completely cool. Carefully remove the pans by lifting burner grates for gas stoves or detaching electric coils for electric stoves. For electric coils, gently push the coil inward to release it before lifting it away.
2. Rinse Off Loose Debris
Run the drip pans under warm water to wash away crumbs and loose grease.
3. Soak in Vinegar Solution
Fill your sink or a large bowl with equal parts hot water and white vinegar. Soak the drip pans here for at least 30 minutes to loosen grime and grease buildup.

4. Apply Baking Soda
After soaking, sprinkle a generous amount of baking soda over the pans. The reaction between vinegar and baking soda helps break down tough residue.
5. Scrub Gently
Use a sponge, an old toothbrush, or a non-abrasive pad to scrub the pans. For stubborn spots, a ball of balled-up aluminum foil can be an effective and gentle scrubbing tool without scratching surfaces.
6. Rinse and Dry
Thoroughly rinse the drip pans under warm water to remove all residue. Dry them completely with a clean cloth or paper towels before reinstalling.
7. Reassemble Your Stove
Place the drip pans back on the stove along with the electric coils or burner grates to complete the process.
Deep Cleaning for Stubborn Buildup
When your drip pans have tough, baked-on grime, the following methods offer more intensive cleaning:
- Baking Soda and Dish Soap Paste: Mix baking soda and dish soap into a thick paste. Apply it to the drip pans and allow it to sit for an hour before scrubbing.
- Ammonia Bag Method: Place each drip pan in a sealable plastic bag with ¼ cup ammonia. Seal tightly and let sit overnight. The fumes help break down grease. Rinse thoroughly afterward.
- Boiling Water Bath: Submerge drip pans in boiling water for 10–15 minutes to soften hardened residue.
- Degreaser Spray: Use a kitchen-safe degreasing spray following the label instructions for extremely dirty pans.
Special Care for Different Drip Pan Types
- Chrome Drip Pans: Clean with liquid detergent or all-purpose cleaner. For stubborn stains, use an ammonia soak or a mildly abrasive cleaner with a scouring pad.
- Porcelain Drip Pans: Usually dishwasher safe, but can also be cleaned by hand with dish soap and water. Avoid harsh abrasive tools to prevent chipping.
Always ensure drip pans are fully dry before placing them back on the stove to prevent rust or damage.
Tips to Prevent Future Drip Pan Buildup
- Wipe the stovetop and drip pans after every use while they are still a little warm.
- Clean spills and splatters promptly after the stove cools to prevent baking on.
- Use aluminum foil or reusable drip pan liners for easier cleanups.
- Cook with lids on pots and pans to reduce splatter.
- Avoid excessive heat that causes spills to burn onto surfaces.
- Perform monthly deep cleans to maintain their condition.
When to Replace Your Drip Pans
Even with regular cleaning, drip pans will eventually show signs of wear such as deep stains, rust, dents, or warping. If cleaning no longer restores their appearance or if they’re damaged, it’s time to replace them to maintain safe and effective cooking performance.
Conclusion
Keeping your stove’s drip pans clean is an often overlooked but important part of kitchen maintenance. Through regular cleaning and occasional deep cleaning, you can prevent buildup that impairs stove function, creates odors, or attracts pests. By following this ultimate guide’s step-by-step instructions and preventative tips, your drip pans will stay sparkling clean, making your kitchen a more pleasant and efficient place to cook.
Maintain your stove drip pans regularly, and enjoy a cleaner, safer, and more beautiful kitchen every day!
>> Chest Freezer Reviews <<
>> Upright Freezer Reviews <<