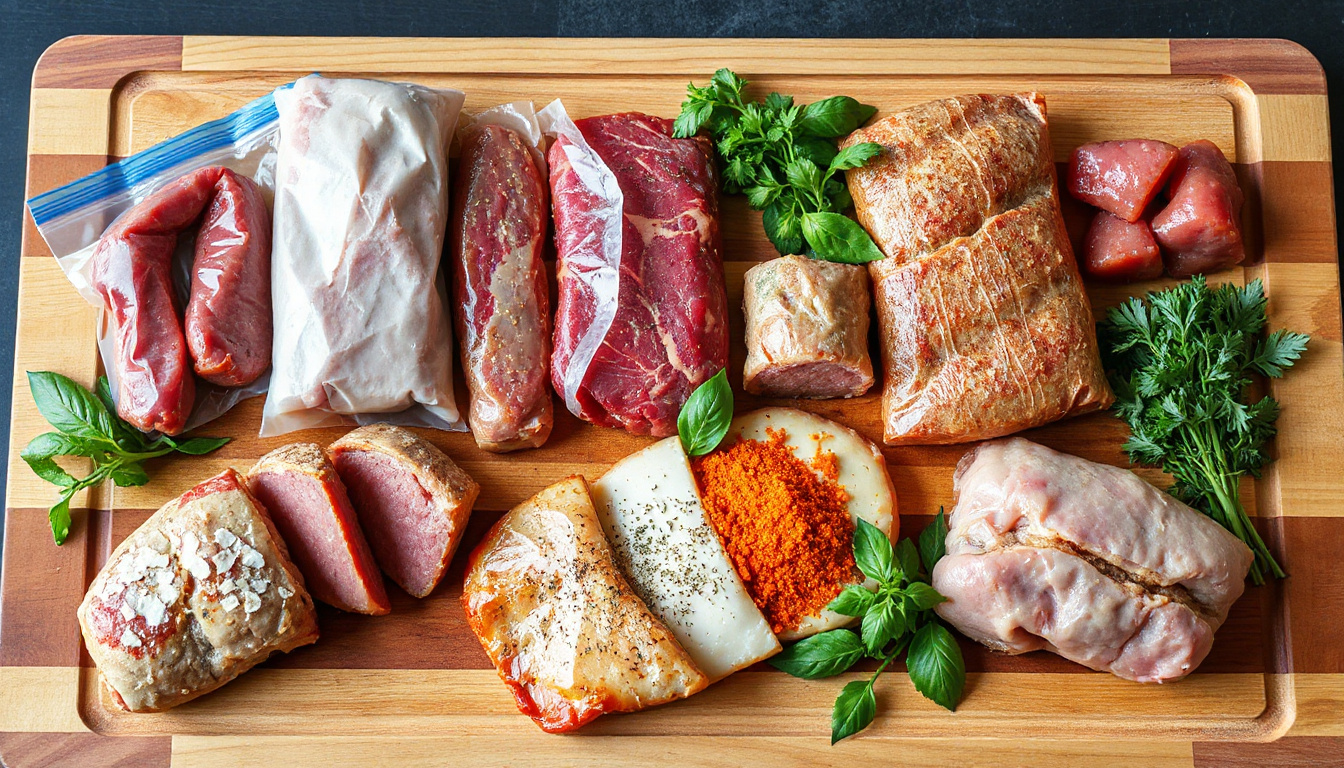
Properly sealing meat is essential for preserving its freshness, flavor, and overall quality, whether you’re planning to store it in the refrigerator or freezer. Vacuum sealing is one of the most effective methods to extend meat’s shelf life, prevent freezer burn, and retain delicious taste. This article will guide you through the best practices for sealing meat safely and effectively, including tips on temperature control, sealing techniques, and storage.
Why Properly Seal Meat?
When meat is exposed to air, oxidation and bacterial growth accelerate, causing it to spoil faster. Proper sealing removes most of the air surrounding the meat, significantly slowing down spoilage by inhibiting oxidation and dehydration. Benefits of vacuum sealing meat include:
- Extended Shelf Life: Vacuum-sealed meat can last up to five times longer than meat stored in conventional plastic bags. For example, vacuum-sealed beef or poultry can last up to 2-3 years in the freezer without major loss in quality.
- Prevention of Freezer Burn: Vacuum sealing bags create an airtight barrier that protects meat from freezer burn, preserving texture and moisture.
- Maintained Flavor and Quality: Lack of air exposure keeps meat color vibrant and flavors intact.
Preparing Meat for Sealing: Temperature and Safety
Food safety is paramount in the sealing process to prevent the growth of harmful bacteria. One common question is whether meat can be sealed immediately after cooking or if it must be cooled first.
Safe Temperature Guidelines
- Do Not Seal Hot Meat: Meat should be cooled to refrigerator temperature (below 40°F or 4°C) before vacuum sealing. Sealing meat that’s still warm or hot can cause juices to leak, preventing a proper vacuum seal and increasing the risk of bacterial growth.
- Rapid Cooling Is Important: To ensure safety, especially with cooked meat, chill it quickly using an ice bath or by spreading it thinly in shallow containers before sealing. This helps the meat reach safe temperatures within the recommended 4-hour period (cool from 140°F to 40°F).
- If Freezing Raw Meat for Long-Term Storage: Some experts recommend pre-freezing meat for 1-2 hours before vacuum sealing to lock in juices and make sealing cleaner and more effective.
Step-by-Step Guide to Properly Seal Meat
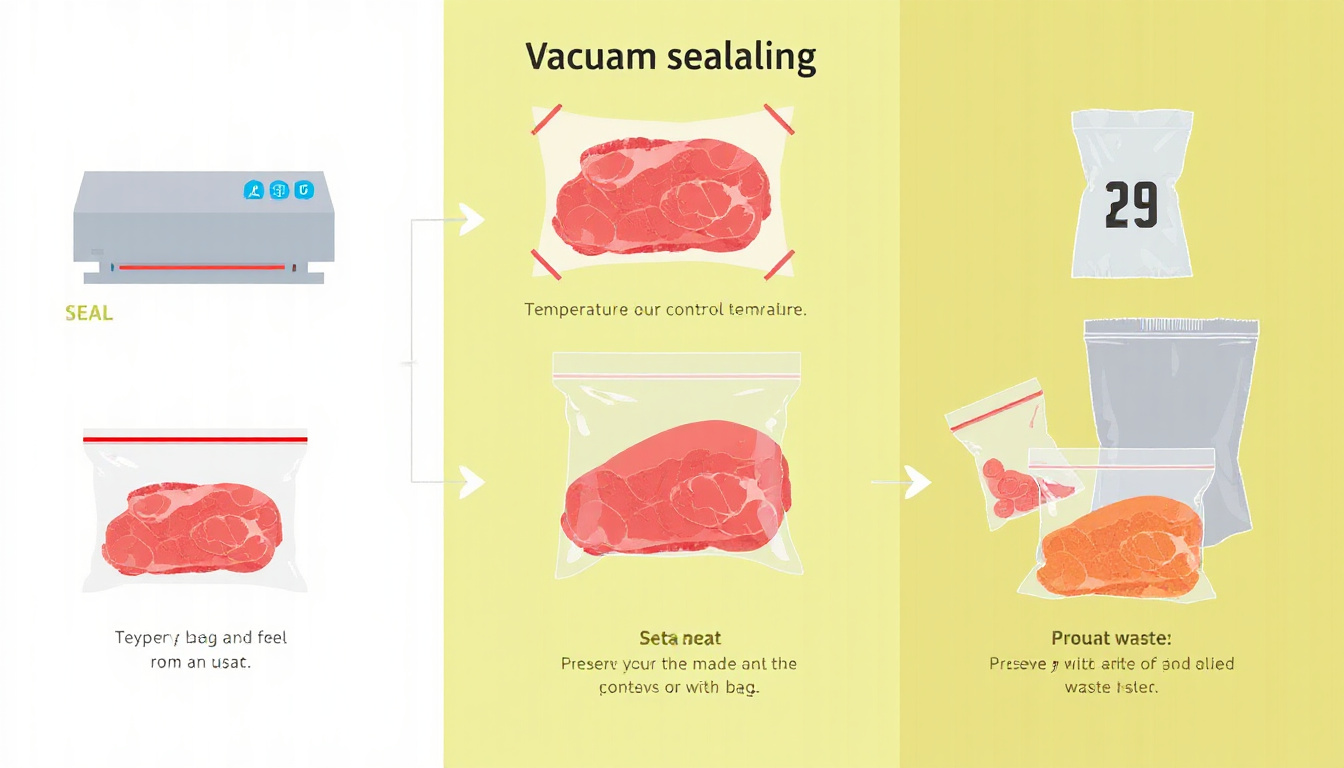
Following these steps ensures your meat stays fresh and flavorful during storage:
1. Select Appropriate Vacuum Seal Bags
Choose vacuum seal bags large enough to comfortably hold your portions with some extra space at the top to allow for sealing. Multilayer bags made for vacuum sealers are preferred for maximum durability and freezer protection.
2. Prepare the Meat
- Trim excess fat or bones if necessary.
- Pat meat dry to minimize moisture that can interfere with sealing.
- Allow cooked meat to cool completely (use ice bath if needed).
- For raw meat, consider pre-freezing for several hours for best results.
3. Place Meat in Bag
Arrange the meat flat inside the vacuum bag to enable even sealing. Avoid overfilling the bag to prevent sealing issues.
4. Seal Properly
Use a quality vacuum sealer to extract air from the bag and create a tight seal. Ensure the sealing edge is free from juices or debris that may compromise the seal. If moisture is present, consider placing a paper towel near the seal area or freezing the meat slightly before sealing.
5. Label and Store
Clearly mark the bag with the type of meat and the date it was sealed. Store vacuum-sealed packages in the freezer or refrigerator depending on how soon you intend to use them.
Tips and Best Practices
- Don’t Stack Meat Before Freezing: Spread packages flat in a single layer until frozen to prevent clumping.
- Monitor Seal Integrity: Check seals before and after storage to detect any leaks or air pockets.
- Use Commercial Sealers for Selling: If sealing for commercial purposes, adhere to local health department guidelines and use approved equipment.
- Avoid Sealing Meat Above 40°F for Extended Times: This reduces bacterial risks and ensures food safety.
Conclusion
Mastering the art of properly sealing meat is a valuable skill for any home cook or bulk buyer. By controlling temperature, choosing the right bags, and using proper vacuum sealing techniques, you can preserve meat’s quality, extend its shelf life, and prevent waste. Whether preparing for a barbecue or storing for future meals, these expert tips will help you keep your meats fresh and full of flavor for months to come.
>> Chest Freezer Reviews <<
>> Upright Freezer Reviews <<