A worn door seal, also known as weatherstripping or door sweep, can compromise your home’s comfort, increase energy bills, and allow moisture and pests to enter. Fortunately, replacing a door seal is a straightforward DIY task that significantly improves insulation and protects your home from outside elements. This guide will help you understand what door seals are, why replacing them matters, and how to install a new one with confidence.
What Is a Door Seal and Why Replace It?
A door seal is a strip of material installed around the edges or bottom of an exterior door to seal gaps between the door and frame. These seals prevent drafts, moisture, insects, and dust from entering, maintaining a comfortable indoor climate and enhancing energy efficiency.
Benefits of replacing worn door seals:
- Improved Indoor Comfort: Maintains stable temperatures by sealing air leaks.
- Energy Savings: Reduces heating and cooling costs by minimizing air infiltration.
- Protection Against Moisture: Keeps rain and snow out, preventing damage and rot.
- Pest Prevention: Blocks entry points for insects and rodents.
- Prolonged Door Life: Lowers risk of frame and door degradation caused by weather.
- Increased Home Value: Energy-efficient homes with proper sealing are more attractive to buyers.
Door seals degrade over time due to wear and tear, UV exposure, or environmental damage, making routine inspection and replacement essential.
Identifying the Right Type of Door Seal
Door seals come in various forms to accommodate different gaps and door types. Choosing the appropriate type ensures an effective seal.
Common Types of Door Seals
- Adhesive-Backed Foam Tape: Economical and easy to install; best for sealing smaller gaps around door edges.
- V-Strip (Tension Seal): A durable, flexible strip folded in a "V" shape that springs open to fill gaps, ideal for door jambs and window frames.
- Door Sweeps: Installed along the bottom interior edge of a door; made of rubber, vinyl, or bristles attached to a metal or plastic strip.
- Felt Weatherstripping: Inexpensive and easy to install, but less durable; typically nailed or stapled into place.
- Tubular Rubber, Vinyl, or Silicone: Provides a tight seal and is often mounted in grooves or attached with screws or adhesive.
For bottom door seals, often called "door sweeps," matching the style, size, and mounting type to your existing door is critical, particularly for older or custom doors.
Tools and Materials You’ll Need
- New weatherstrip or door sweep appropriate for your door
- Screwdriver (flathead and/or Phillips)
- Utility knife or scissors for cutting the new seal
- Tape measure for accurate dimensions
- Putty knife or scraper to remove old adhesive and weatherstripping
- Cleaning supplies (cloth, rubbing alcohol or mild cleaner)
- Weatherstripping adhesive (if required)
- Optional: wood filler, sandpaper, or paint for minor door frame repairs
Step-by-Step Guide to Replacing Your Worn Door Seal
Step 1: Remove the Old Door Seal
- Carefully check how the existing weatherstrip or sweep is attached — it may be nailed, screwed, or adhered.
- Use a screwdriver or utility knife to gently remove fasteners or adhesive.
- Take care not to damage the door or frame.
- Once removed, scrape away old adhesive or debris with a putty knife.
- Clean the surface thoroughly with rubbing alcohol to ensure good adhesion for the new seal.
Step 2: Measure the Door Frame or Sweep Area
- With your tape measure, record the length of the door’s sides, top, and bottom as needed.
- Accurate measurements ensure a proper fit and prevent gaps.
- For door sweeps, measure the width of the door’s bottom edge.
Step 3: Select and Prepare the Replacement Seal
- Choose a seal type suited to your door and the gap size.
- Cut the new seal to the measured dimensions using utility scissors or a knife.
- For adhesive-backed seals, peel back a small section of the adhesive to position the seal properly.
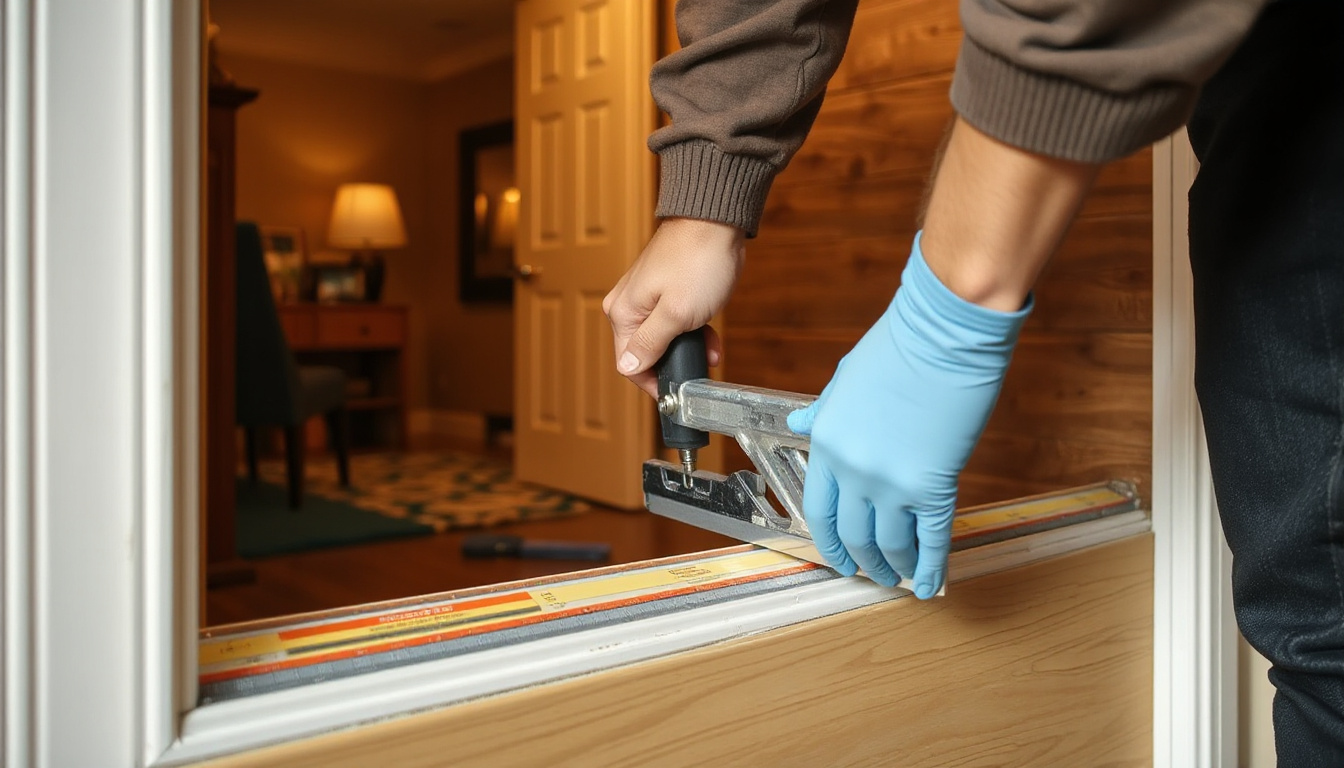
Step 4: Install the New Seal
- Align the new seal carefully along the doorframe or door bottom.
- Press adhesive-backed strips firmly to ensure a secure bond.
- For screw- or nail-in seals, mark screw holes, then fasten securely.
- Ensure the seal compresses slightly when the door closes, creating an effective barrier.
- Trim any excess material.
Step 5: Test and Adjust
- Close the door to check for drafts or light passing through the seal.
- If gaps remain, adjust the position or add supplementary weatherstripping.
- Lubricate contact surfaces (such as the threshold) with silicone or Teflon spray to prolong the seal’s life and reduce friction.
Optional Step: Repair Doorframe
- If you notice any damage or wear to the doorframe, use wood filler or sandpaper.
- Touch up with paint to protect against moisture and ensure a clean finish.
Additional Tips for Bottom Door Seals (Door Sweeps)
- Bottom seals are often proprietary and specific to door models.
- If your original sweep is unavailable, bring it to a hardware store to find a close match or consider adjustable or universal replacement sweeps.
- For wooden doors, nail-on sweeps are simple to install.
- If clearance is an issue, choose a low-profile sweep that doesn’t drag or prevent smooth door operation.
- Lubricate the threshold to reduce wear on rubber or vinyl sweeps.
How Long Does It Take?
Replacing a worn door seal typically takes between 30 minutes to one hour, depending on the door size, seal type, and your experience level. This project ranks low on difficulty, making it accessible to most DIY enthusiasts without professional help.
Conclusion
Replacing a worn door seal is a cost-effective home improvement that improves comfort, protects your property, saves energy, and adds value. With basic tools and a bit of effort, you can seal out drafts, moisture, and pests, giving your home a noticeable upgrade. Regular inspection and timely replacement keep your doors functioning optimally and help maintain a warm, energy-efficient living space.
By following this guide, you’ll be well-equipped to tackle your worn door seal replacement, sealing the deal on energy efficiency and comfort!
>> Chest Freezer Reviews <<
>> Upright Freezer Reviews <<