
 By Susan Werner
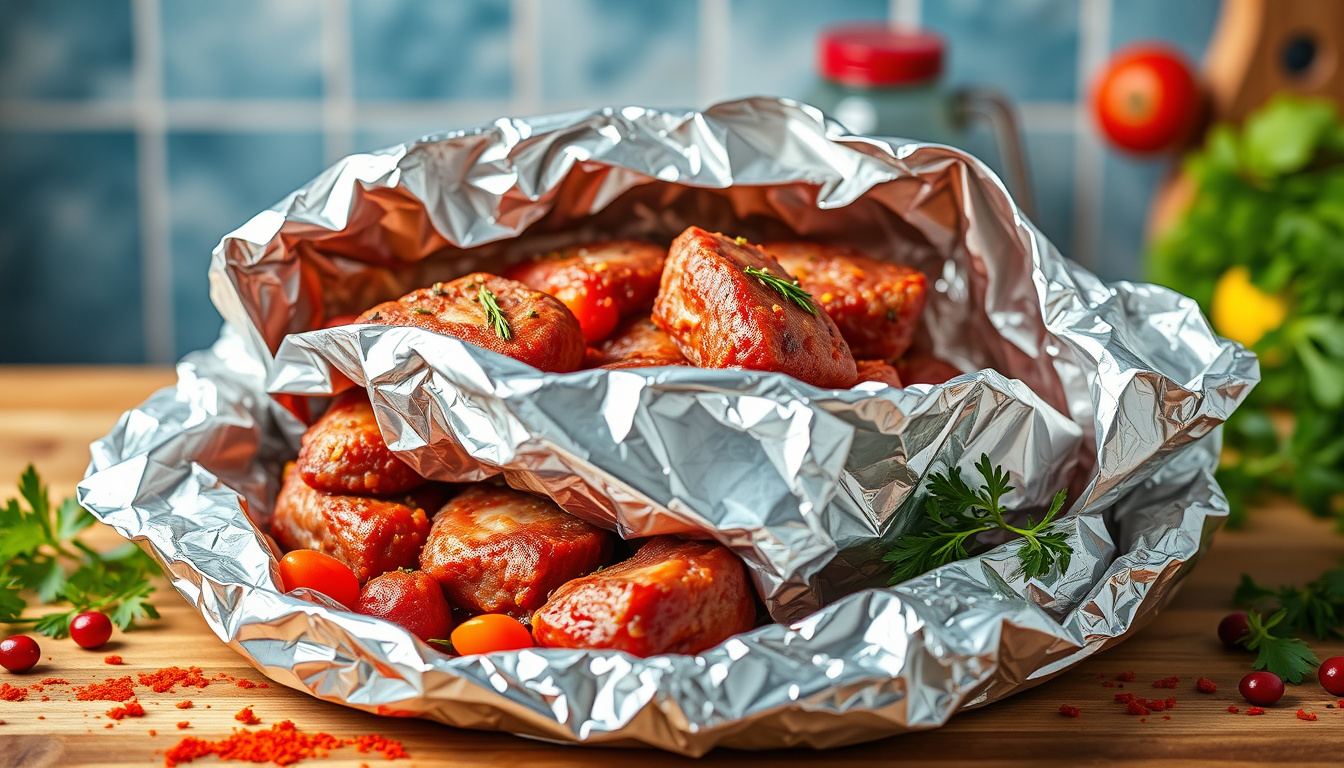
Foil can be part of freezer packaging for meat, but the goal is different from wrapping meat for cooking: freezer packaging should limit air exposure, protect the food from drying, and stay securely closed. For longer storage, many people pair foil with another freezer-appropriate barrier or use freezer paper or freezer bags.
See our freezer-paper guide and freezer-burn prevention guide.
How to Use Foil for Freezer Meat
Start with food that is ready to freeze and portion it so you can thaw only what you need. Wrap the meat closely to reduce exposed air pockets, fold the foil securely, and consider placing the wrapped portion inside a freezer bag or other freezer-safe outer package for additional protection.
Foil Alone vs. an Outer Barrier
Foil blocks light and can wrap irregular shapes, but it can tear or puncture. For longer storage or packages that may be moved around frequently, a second freezer-appropriate barrier can help protect the wrap and limit air exposure.
Label Before Freezing
Mark the package with the type of meat and date. See our freezer labeling guide and meal-sized meat guide.
Avoid These Mistakes
- Do not confuse foil wrapping for freezing with foil wrapping used during barbecue cooking.
- Do not leave sharp bones exposed where they can puncture the package.
- Do not rely on damaged or loosely folded foil as an airtight package.
- Do not assume packaging can make food safe if it was mishandled before freezing.

Optional freezer organization: Once foil-wrapped meat is further protected in suitable freezer-safe packaging, these bins can group the packages. They do not replace correct wrapping or labeling. Check that these bins fit your freezer.
Bottom Line
Foil can be useful for freezing meat when it is wrapped closely and protected from punctures, especially when paired with another freezer-safe barrier.
What Is The “Texas Crutch”?
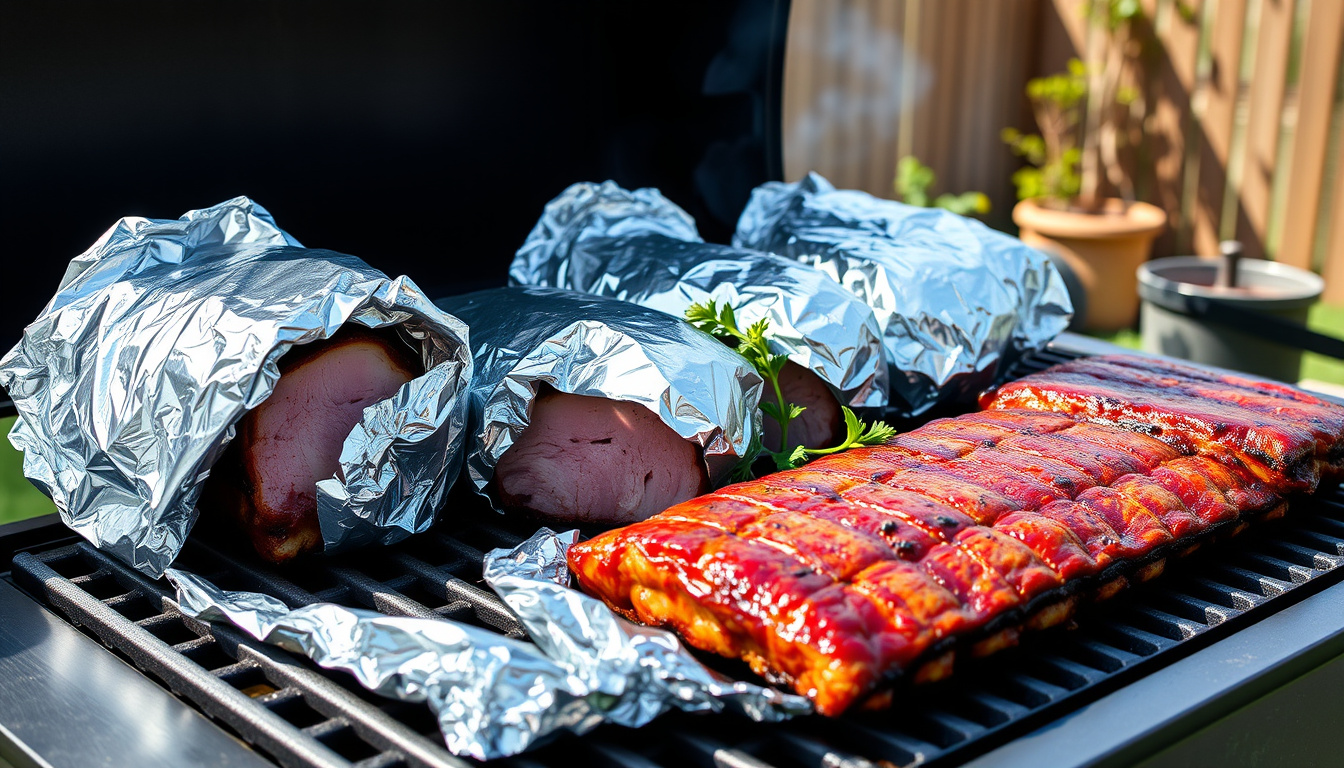
The term “Texas Crutch” refers to a method of wrapping meat tightly in aluminum foil or butcher paper during the latter stages of cooking. Primarily utilized in smoking briskets, pork butts, and ribs, this technique helps to create a steamy environment that keeps the meat moist while simultaneously speeding up the cooking process. The crutch allows for the meat to braise in its own juices, yielding a tender, juicy result.
Benefits of Wrapping Meats in Foil
Retaining Moisture
One of the primary advantages of foil-wrapping is moisture retention. When meat is sealed in foil, it prevents evaporation, which can dry out the exterior. The trapped juices mix with any additional liquid (such as apple juice, beer, or broth) you choose to add, enhancing flavor and tenderness.
Cooking Efficiency
Wrapping meat can significantly decrease cooking time. The foil acts as an insulator, allowing heat to penetrate the meat more effectively than air would, thus accelerating the cooking process. This is particularly beneficial during the “stall” phase—when the meat’s internal temperature struggles to rise due to moisture loss.
Enhanced Flavor
The steam created inside the foil-pack allows flavors to penetrate the meat more deeply. Whether you’re using a marinade or adding spices, wrapping in foil integrates those flavors more effectively than traditional cooking methods.
How to Wrap Meat in Foil Properly
Preparation
Choose Your Foil: Use heavy-duty aluminum foil that won’t tear easily. Alternatively, pink butcher paper can also be used, which allows for some breathability while still retaining moisture.
Prepare Meat: Season your meat as desired, and consider spritzing it with a little liquid (like apple juice) to add moisture.
Wrapping Technique
Layer the Foil: Use two sheets of aluminum foil, arranging them to create a cross shape. The sheets should overlap in the center with enough extra material on the edges to seal tightly.
Position the Meat: Place the meat in the center of the foil. If using liquids, add them around the meat before wrapping.
Seal Tightly: Fold the foil over the meat, ensuring no open seams where steam can escape. The wrap should conform snugly to the meat to keep the juices sealed inside.
Return to Heat: Place the foil-wrapped meat back onto your grill or in your oven to finish cooking. Monitor the internal temperature closely to avoid overcooking.
Tips for Success
Timing is Key: Knowing when to wrap your meat is crucial. Many pitmasters suggest wrapping when the meat hits around 150°F (65°C) and has developed a nice color.
Avoid Overdoing It: Too long in the wrap can lead to mushiness. For ribs, a shorter cooking time in the foil (around 30 to 60 minutes) is often recommended, whereas briskets may need longer (up to two hours).
Rest After Cooking: Once you remove the wrapped meat, allow it to rest for a few minutes. This helps redistribute the juices throughout the meat, enhancing flavor and texture.
Common Mistakes to Avoid
Using Inadequate Foil: Thin foil can tear and lead to leaking, which negates the benefits of wrapping.
Overloading with Liquids: Too much liquid inside the wrap might create a soggy texture. A quarter cup or so is generally sufficient.
Opening Too Soon: Peeking too often disrupts the cooking environment. Once wrapped, resist the urge to check until it’s time to remove the meat.
Conclusion
Mastering the art of wrapping meats tightly in foil can elevate your cooking game significantly. By understanding its benefits and perfecting the technique, you can achieve tender, juicy results that will impress family and friends alike. Whether you’re preparing brisket, pork butt, or ribs, employing this method will undoubtedly enhance your culinary creations, making every meal a memorable experience. So, preheat that grill, grab your foil, and get ready to enjoy some deliciously wrapped meats!
>> Chest Freezer Reviews <<
>> Upright Freezer Reviews <<