
 By Susan Werner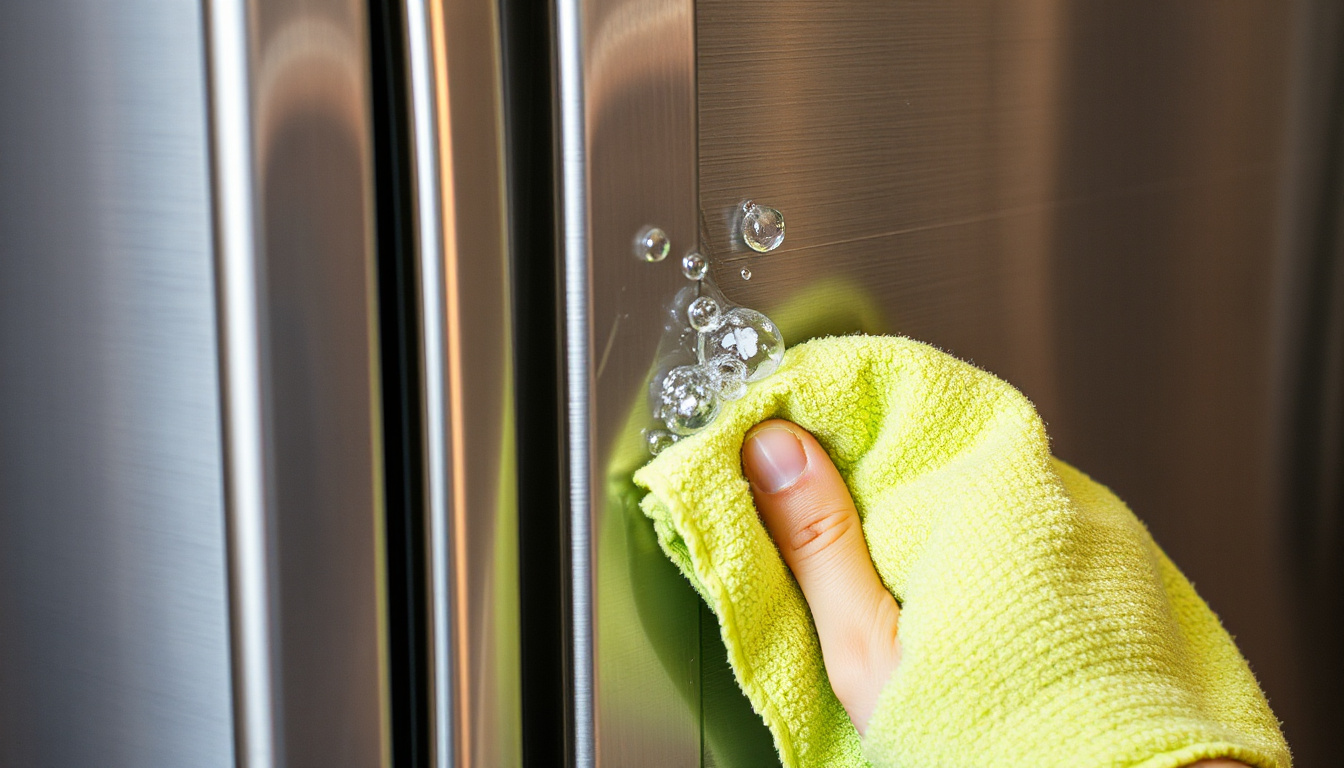
Keeping your refrigerator door gasket clean is essential for maintaining optimal cooling efficiency, preventing mold growth, and extending the appliance’s lifespan. The door gasket— the flexible rubber seal lining the refrigerator door—plays a crucial role by creating an airtight seal that locks in cold air and keeps out warm, humid air. Over time, dirt, food residue, and mildew can build up on the gasket, reducing its effectiveness. This guide offers clear, practical steps on how to clean refrigerator door gaskets safely and effectively using warm water.
Why Clean Your Refrigerator Door Gasket?
- Maintain an airtight seal: A clean gasket seals tightly, preventing cold air from escaping and warm air from entering.
- Improve energy efficiency: When your gasket works correctly, your refrigerator doesn’t have to work as hard to maintain temperature, saving energy and reducing electricity bills.
- Prevent mold and mildew: Gaskets are prone to moisture accumulation, making them a breeding ground for mold and mildew if neglected.
- Prolong refrigerator lifespan: Proper gasket maintenance reduces wear and tear on your refrigerator’s compressor and other components.
What You Need
- Warm water (not boiling)
- Mild dish soap or baking soda
- Soft microfiber cloths
- Soft-bristled toothbrush or a small cleaning brush
- Dry towel for wiping

Step-by-Step Cleaning Guide
Step 1: Prepare Your Cleaning Solution
Mix warm water with a small amount of mild dish soap to create a gentle but effective cleaning solution. Alternatively, dissolve 1 tablespoon of baking soda into 1 quart of warm water. This solution helps in removing grime and deodorizing the gasket without causing damage.
Step 2: Wipe Down the Gaskets
- Dip a microfiber cloth or soft-bristled toothbrush into the solution.
- Gently scrub the entire gasket, paying close attention to the folds and crevices where dirt and mold tend to accumulate.
- For stubborn spots, use the toothbrush to carefully agitate and loosen buildup without tearing the rubber.
Step 3: Dry Thoroughly
After cleaning, wipe the gasket completely dry with a clean towel. Moisture left on the gasket can encourage mold growth and weaken the seal. Make sure to get into the grooves and corners for thorough drying.
Check the Seal’s Integrity
While cleaning, inspect the gasket for signs of damage such as cracks, tears, or warped areas which can compromise its ability to seal. A simple test recommended by experts is the "dollar bill test":
- Close a dollar bill in the door so that half of it is inside the fridge and the other half outside.
- Try pulling the bill out gently.
- If you feel resistance holding the bill, the gasket is sealing properly.
- If the bill slips out easily, the gasket may need replacement to maintain efficiency.
Additional Tips for Gasket Care
- Schedule regular cleaning every 3 to 6 months, depending on usage and environmental factors.
- Avoid using harsh chemicals or abrasive tools which can deteriorate the rubber.
- If you notice persistent mold or odors, increase cleaning frequency and ensure your refrigerator is properly ventilated.
- Consider applying a thin layer of petroleum jelly or gasket conditioner on the rubber to keep it supple and prolong its life.
Conclusion
Cleaning your refrigerator door gasket with warm water and a mild cleaning solution is a simple, effective way to boost your appliance’s performance and energy efficiency. By following these easy steps and regularly inspecting the gasket’s condition, you’ll help ensure a reliable seal, extend the freshness of your food, and keep your refrigerator running smoothly for years to come.
Regular care not only maintains your appliance but also helps save on energy costs, making it a smart and practical maintenance habit. Next time you clean your kitchen, remember to add the door gasket to your cleaning routine—your fridge and wallet will thank you.
>> Chest Freezer Reviews <<
>> Upright Freezer Reviews <<